"Please, please, please! It's been soooo long." Puppy Daddy has been begging. I don't know why I have denied him for so long. This recipe is super simple, quick and delicious. No need to go to a restaurant for fajitas. I marinated the chicken for these about 2 hours, but I have made them many times by just tossing the chicken in the marinade and then right into the skillet. You can also cook the chicken, onion and green pepper on the grill, but it was too chilly for outdoor cooking last night.
The marinade has just a few simple ingredients, and you can leave some out or change them depending on what you have in your pantry. I really love the flavor the liquid smoke gives the chicken.
Cooking the fajitas is super easy. I start by sauteing the onion and green pepper in a little bit of olive oil. When they start to get soft, add the chicken. While the chicken is cooking wrap your tortillas in some aluminum foil and heat in the oven.
Serve with your favorite toppings and enjoy with some rice and beans!
Ingredients 1/4 cup vegetable oil 1 lime, juiced 1 tsp cumin 1 tsp chili powder 1 tsp garlic powder 1 tsp onion powder 1 tsp Liquid Smoke salt and pepper 2 boneless skinless chicken breast, thinly sliced 1 TB olive oil 1 green pepper 1 red or yellow onion flour tortillas
Optional Toppings sour cream cheddar or jack cheese, shredded pickled jalapenos
Directions Combine first 8 ingredients to make marinade. Add chicken and marinate for up to 2 hours. You can just toss the chicken in the marinade if you don't have time to let it sit. Heat olive oil in a large skillet over medium high heat. Add green pepper and onion. Saute until the begin to soften. Add chicken and cook until no longer translucent. While chicken is cooking wrap tortillas in aluminum foil and heat in 300 degree oven. Serve with your favorite toppings.
Happy New Year! Though I haven't posted in about a week, I have been doing plenty of cooking and enjoying time with family. Many of our meals have been casual and Cole slaw has been the perfect accompaniment. I learned to make Cole slaw from my mother, who used a very simple, but tasty recipe: packaged cabbage slaw, mayo, sugar, and apple cider vinegar. I made this slaw for many, many years. Then I started tweaking it by changing the cabbage slaw to broccoli slaw, which I think stays much crunchier and adding blue cheese, green onions and apple. I think it is the best Cole slaw EVER! Everyone who has tasted it seems to agree.
Ingredients 6 oz broccoli slaw 2 green onions, chopped 1/2 Granny Smith apple, cored and chopped 1 oz blue cheese, crumbled 1 cup mayonnaise 1/4 cup cider vinegar 1/4 cup sugar or Splenda salt and pepper to taste
Directions Combine slaw, onions, apple and blue cheese in a large bowl. Put mayo, vinegar, sugar, salt and pepper in a small bowl. Whisk to combine. Stir into slaw mixture.
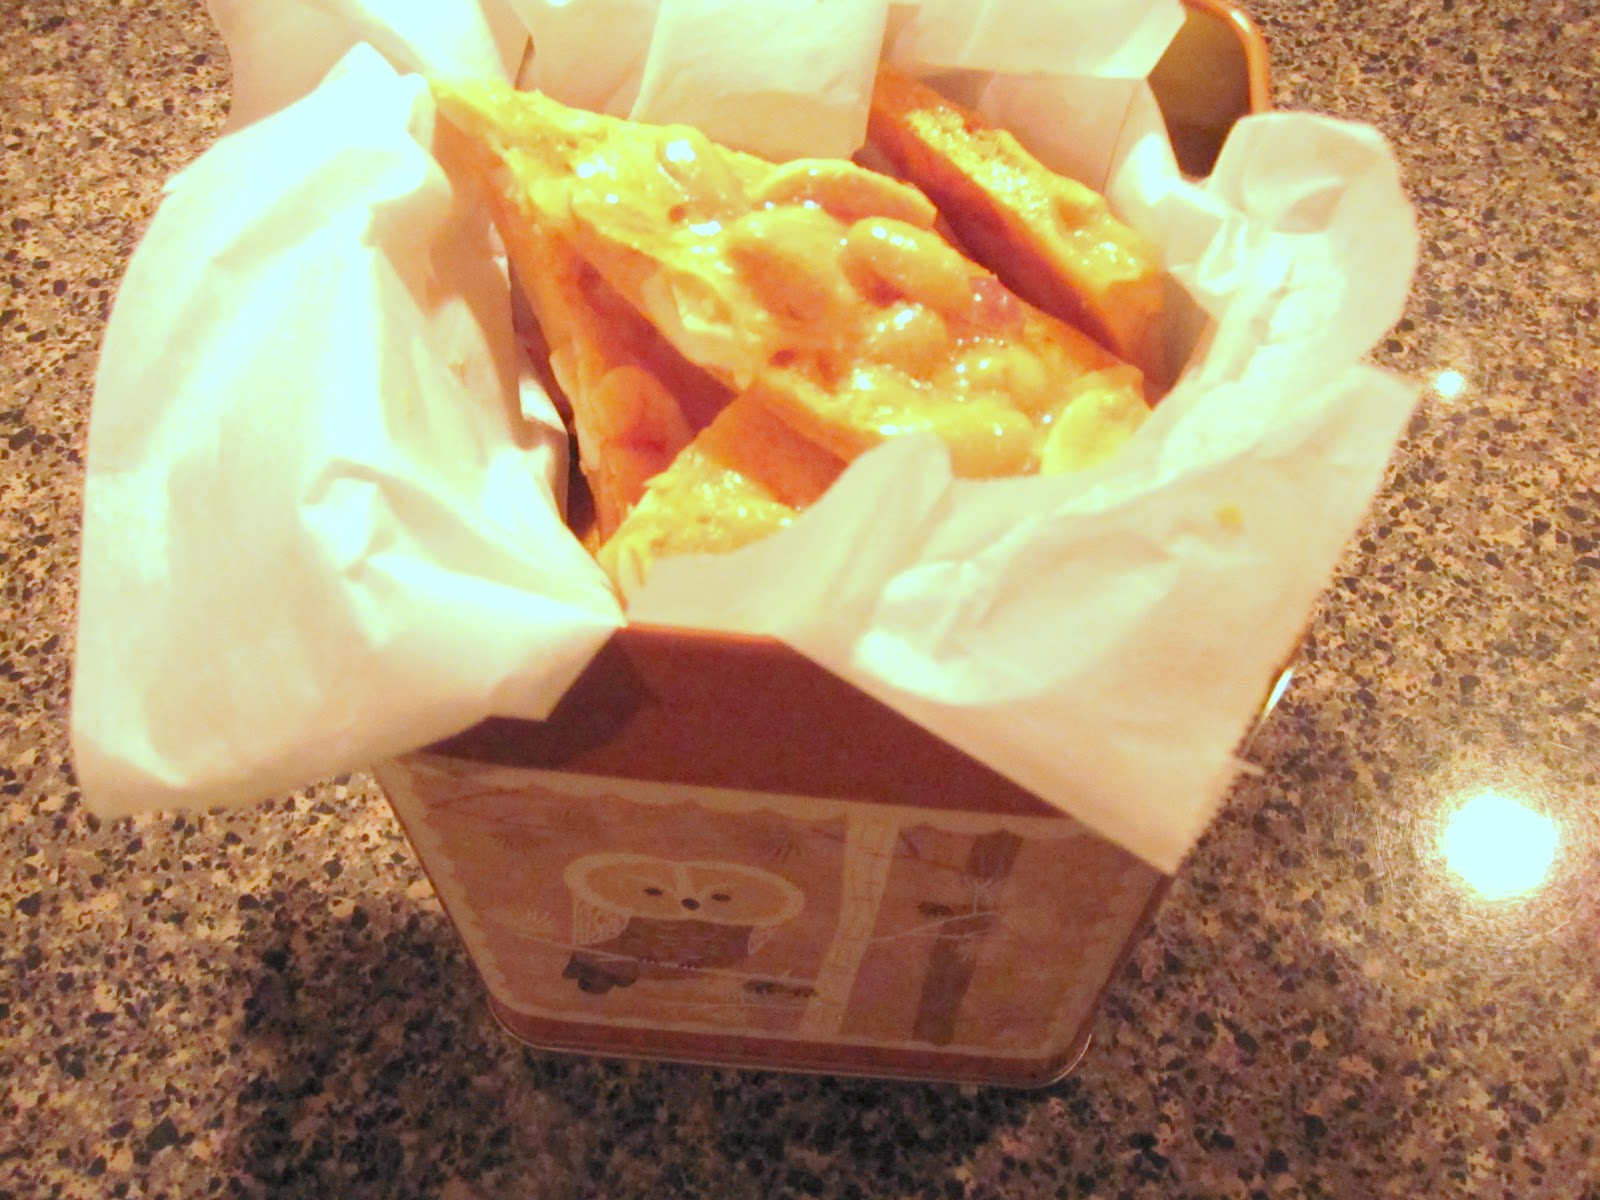
Shopping is finished. Presents are wrapped. And now the baking is done. Not that I did very much baking, in fact I don't really think you can call this recipe baking at all. I decided to make peanut brittle for Christmas presents when I recently discovered my son loves it. When my grandmother, Mimi Bates made peanut brittle it seemed very complicated. She even roasted her own peanuts! I never, ever considered making it myself until I saw this recipe on Pinterest from a great blog, Plain Chicken. Believe me it is as easy as it looks and it tastes fabulous! You should try it soon!
Ingredients 1 cup sugar 1/2 cup light corn syrup 1 Tbsp butter 1 tsp vanilla 1 cup salted peanuts 1 tsp baking soda
Directions Combine sugar and syrup in a microwave safe bowl (I use a glass bowl), stir. Microwave on high for 5 minutes. Add butter, vanilla and peanuts; stir. Microwave on high for 1 minute 25 seconds. Remove bowl from microwave and quickly stir in baking soda. Immediately pour mixture onto parchment paper, aluminum foil or a silpat. Spread into a rectangle and let cool for 1 hour. Break into pieces and enjoy!
Who doesn't love BBQ ribs? Puppy Daddy and I certainly do. I have tried every way imaginable to prepare ribs, baking, grilling, smoking...but I think the slow cooker is the easiest and makes the most tender ribs. Just coat the ribs in your favorite dry rub and place in your slow cooker on low for 8 - 10 hours. I used Park Hill Maple Sugar and Spice Pepper from Savory Spice mixed with some smoked paprika and garlic salt. When you take the ribs out of the slow cooker put them on a baking sheet, brush with BBQ sauce and bake in the oven at 350 for about 10 minutes. Serve with a bit more sauce. You can use your favorite store bought sauce, but I love to make my own. It's super simple and you can make it to suit your own personal taste. The magic of Liquid Smoke gives you that smoked flavor with out the work of tending a smoker all day long. You should try these soon!
Ingredients
Ribs baby back ribs or spare ribs 2 TB Park Hill Maple Sugar and Spice Pepper 1 TB smoked paprika 1 TB garlic salt BBQ Sauce 1 TB butter 1/4 cup onion,chopped 1 cup ketchup 2 TB brown sugar 1 TB vinegar 1 TB Worcestershire sauce 1/2 TB hot sauce 2 TB liquid smoke 1 TB Dijon mustard
Directions
Ribs Combine Maple Sugar Spice, smoked paprika and garlic salt. Coat ribs with spice mixture. Place in slow cooker and cook on low for 8 - 10 hours. Remove ribs from slow cooker and place on a baking dish. Brush ribs with BBQ sauce and bake in a 350 degree oven for 10 minutes. Serve with more BBQ sauce.
BBQ Sauce Melt butter over medium heat in a medium sauce pan. Add chopped onions. Cook until onions soften. Add the rest of the ingredients and cook over low for about 10 minutes.
With apologies to my favorite Italian TV chefs and friends, I am not a big fan of tomato sauce or gravy. Yes, I use it on my stuffed shells or lasagna, but other than that you won't find it on my menu. But when I made Grilled Chicken Involtini this week pasta with some type of tomato sauce seemed like the right side dish. While it does have tomatoes, the pasta is not smothered in sauce.
You can use what ever shape of pasta you choose. I used a corkscrew which did a nice job of holding on to the sauce. Just cook your pasta in salted water and be sure to reserve some of the cooking water for the sauce.
To start heat up some extra virgin olive oil in a large skillet. Then add a pint of fresh grape tomatoes. I prefer these because they have so much more flavor than anything else I can find in the grocery store. Cover the skillet and cook the tomatoes on medium heat until they burst open. Next just add crushed garlic and artichokes. When the pasta is finished cooking add it along with some pasta water to the skillet along with Parmesan cheese and chopped fresh basil. You should try this soon!
Ingredients 8 oz corkscrew pasta, cooked 1 cup pasta water, reserved 2 TB extra virgin olive oil 1 pint fresh grape tomatoes 6 oz canned artichoke hearts, quartered 1 large clove garlic, crushed 1/2 cup Parmesan, grated 1/4 cup fresh basil, chopped
Directions Cook pasta according to package directions, reserving 1 cup of cooking water. Heat extra virgin olive oil in large skillet over medium high heat. Add tomatoes, cover and cook until tomatoes burst open. Add artichokes and garlic. Cook for 3 minutes. Drain pasta and add to skillet. Add Parmesan and enough pasta water to bring sauce together. Finish with fresh basil. Top servings with more Parmesan.
Puppy Daddy and I had a major dilemma this weekend, what to have for dinner on Sunday night. While our Wednesday night dinner tradition is something quick and easy, I try to make our Sunday night dinners something special. Now when I was working full time, I spent Saturday mornings planning a menu for the week and making my grocery list so that I could shop once for everything I'd need for the week. But since I've been working part time from home, I've gotten lazy about our weekly menu, deciding many times day by day what I feel like eating, thus the weekend dilemma. At about 3 PM Sunday afternoon I started trying to decide what we would have for dinner that night but nothing was inspiring me. So, I asked Puppy Daddy what he wanted for dinner. He thought something cooked on the charcoal grill would be good so I put him to work looking through my Weber Grill cookbooks. He let the first book, Weber's Way to Grill by Jamie Purviance fall open and Chicken Involtini with Prosciutto and Basil was the first thing he saw. After perusing the cookbooks and discussing several options, we decided to try this recipe and boy were we glad we did!
The ingredients are very simple, chicken breast, prosciutto, provolone cheese, basil, garlic powder, salt and pepper. The result is super tasty! Just pound your chicken breast out nice and thin. Sprinkle both sides with salt, pepper and garlic powder. Top each with prosciutto, provolone and basil.
Next roll up chicken breast and tie up in several places with kitchen twine to keep the cheese from oozing out while it cooks. We cooked this on a charcoal grill which I think gave it a great smoky flavor, but you could use a gas grill, stove top grill or even bake it in the oven.
Yes the finished product photo from the cookbook shows it served on tomato sauce, but I served it with pasta and homemade sauce made with fresh tomato, artichoke, garlic, basil and parmesan . DELICIOUS! You should try this soon!
Ingredients 4 boneless, skinless chicken breast halves, about 8 ounces each, tenders removed 1 teaspoon kosher salt 1 teaspoon powdered garlic 1/2 teaspoon freshly ground black pepper 4 very thin slices prosciutto 4 slices provolone cheese, halved 8 large basil leaves, plus more for garnish Extra-virgin olive oil 2 cups good-quality tomato sauce
Directions Prepare the grill for direct cooking over medium heat.
For each piece of chicken, use about 12 inches of plastic wrap. Place the chicken, smooth side down, to one side of the plastic, about 2 inches from the edge. This will allow the chicken to spread out as it gets thinner. Starting from the thick side, gently pound the chicken with the flat side of a tenderizer or the bottom of a small, heavy skillet, moving to different areas with every stroke until it is about 1/4 inch thick and just about doubles in size. Don’t pound too hard or the chicken might break apart.
Season each piece of chicken with salt, granulated garlic and pepper. Arrange the chicken with the smooth side down on a work surface.
Lay a slice of prosciutto on each piece of chicken. Then lay down 2 halves of the provolone and 2 basil leaves. Carefully roll up the chicken, keeping it snug as you work, until it is tube-shaped. Tie 2 pieces of butcher’s twine around each piece to keep it together. Trim the loose ends of twine.
Lightly brush each rolled piece with olive oil.
Brush the cooking grates clean. Grill the chicken over direct medium heat, with the lid closed as much as possible, until golden on all sides, about 12 minutes, turning a quarter turn every 3 minutes. Remove from the grill and let rest for 3-5 minutes.
Meanwhile, in a small saucepan over medium-high heat, warm the tomato sauce.
Remove the twine from each chicken piece, cut into slices and serve warm on a pool of sauce. Garnish with torn basil leaves.
As I'm typing, the Whippets are sound asleep on the couches in our living room. They appear totally exhausted, though I'm not sure from what. Actually this is how they look most of the time, except for the couple of times a day when they are either racing around the backyard, or having a howl fest. I was very excited the week after we put up the Christmas tree that they had not removed and destroyed any ornaments for the first time ever. But, I shouldn't have bragged too quickly to the puppy's Uncle Steve because that very day I came home to find destroyed ornaments in the middle of the living room floor! Thankfully they are cheap plastic ornaments and not priceless family heirlooms. I keep thinking every year that surely they have grown up enough not to care about the Christmas tree, but each year I am of course, wrong. It's true, boys never grow up! Now why in the world would I combine a Chinese food recipe with a story about Christmas? Have you seen the Christmas Story? It's one of my favorite holiday movies. I'm posting this recipe just in case your Christmas turkey gets eaten by the Bumpus' hounds. You can make Chinese food. Be sure to have the ingredients on hand! Seriously, this is a great, easy recipe. You should try it soon. Ingredients 1 tablespoon vegetable oil